
How to Install Liquid Tight Flexible Metal Conduit?
In the realm of electrical installations, mastering the installation of Liquid Tight Flexible Metal Conduit (LFMC) is crucial for ensuring the safety and efficiency of your wiring system. This comprehensive guide will walk you through the step-by-step process, providing detailed insights to empower your understanding and execution.
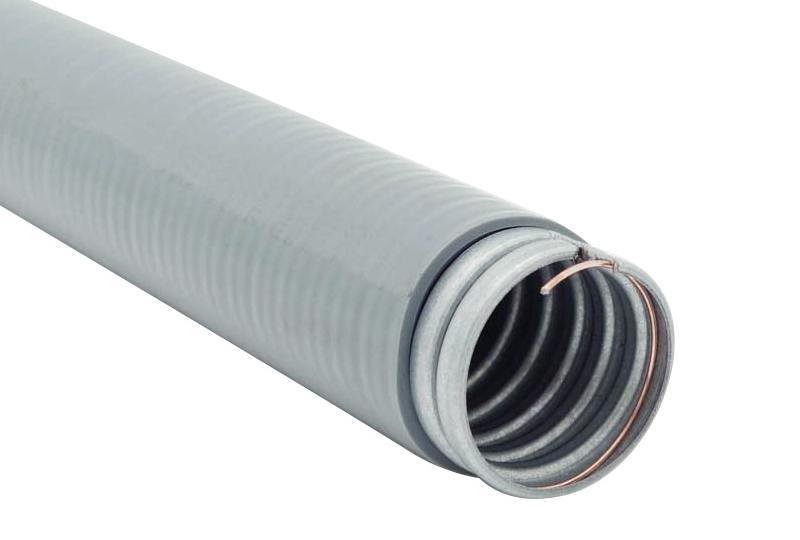
What is Liquid Tight Flexible Metal Conduit ?
Liquid Tight Flexible Metal Conduit is a versatile conduit used to protect electrical wiring in various environments. Its flexibility, durability, and resistance to liquids make it ideal for both indoor and outdoor applications.
Key Features of Liquid Tight Flexible Metal Conduit
Durability: LFMC is constructed with rugged materials, ensuring longevity in challenging conditions.
Flexibility: Its flexibility allows for easy installation around corners and obstacles.
Liquid Resistance: The conduit is designed to withstand exposure to liquids, safeguarding your electrical system.
Tools and Materials Needed
Before diving into the installation process, gather the following tools and materials:
LFMC: Ensure you have the correct length and type suitable for your application.
Conduit Cutter: For precise cutting of the LFMC to the required lengths.
Conduit Benders: Essential for shaping the conduit around corners.
Connectors and Fittings: These components facilitate secure connections between conduit sections.
Screws and Anchors: For fastening the conduit in place.
Step-by-Step Installation Guide
Step 1: Planning
Before installation, plan the route of the LFMC, considering factors such as obstacles, bends, and entry points. This strategic planning ensures a smooth installation process.
Step 2: Cutting the Conduit
Use a conduit cutter to trim the LFMC to the desired lengths. Ensure precise measurements to guarantee a snug fit.
Step 3: Shaping with Conduit Benders
Employ conduit benders to shape the LFMC around corners and turns. This step demands precision to maintain the conduit's integrity.
Step 4: Connecting Sections
Securely attach connectors and fittings to join LFMC sections. Double-check connections to prevent any potential hazards.
Step 5: Fastening in Place
Use screws and anchors to fasten the LFMC securely. This step is crucial for stability, especially in outdoor installations where weather conditions may vary.
Step 6: Sealing Joints
Apply appropriate sealants to ensure water-tight joints, reinforcing the conduit's liquid-resistant properties.
Step 7: Conducting Safety Checks
Before concluding the installation, perform thorough safety checks to guarantee the integrity of the LFMC system. Ensure all connections are secure, and there are no exposed wires.
Conclusion
Mastering the installation of Liquid Tight Flexible Metal Conduit is an indispensable skill for anyone involved in electrical work. By following this comprehensive guide, you not only ensure the safety of your wiring system but also elevate your expertise in handling LFMC installations.
55
0
0
Comments
All Comments (0)