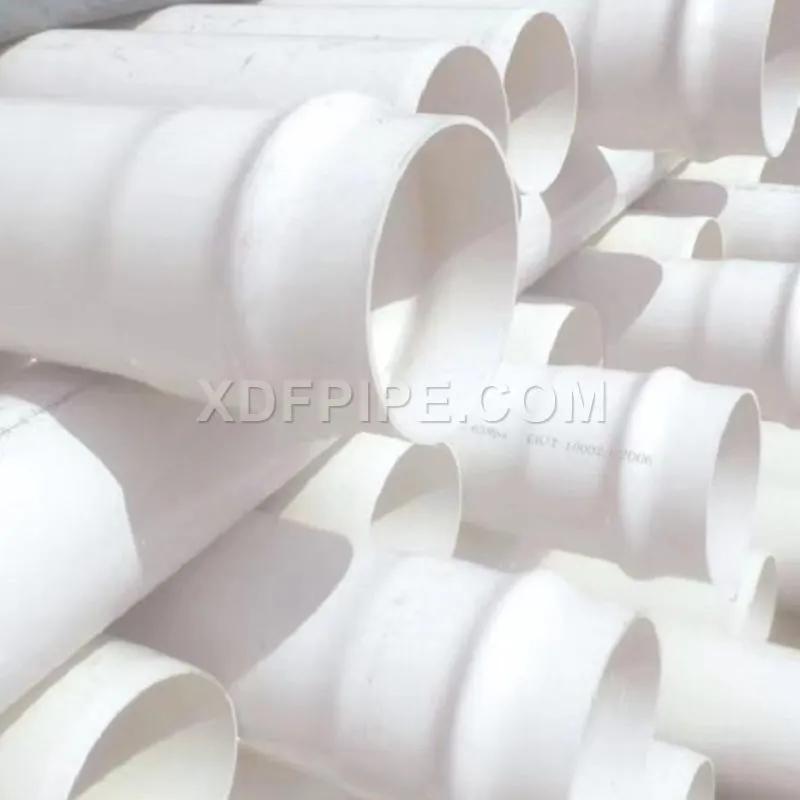
Installation Guide for PVC Water Supply Pipes: Tips and Techniques
Welcome to the ultimate guide on installing PVC water supply pipe. We pride ourselves on delivering top-notch solutions for your plumbing needs. Our years of experience have allowed us to refine the installation process, ensuring durability and efficiency. In this comprehensive guide, we'll walk you through the essential tips and techniques for installing PVC water supply pipes seamlessly.
Choosing the Right PVC Pipes
Selecting the right PVC pipes is the first crucial step in a successful installation. Quality matters, and we recommend opting for Schedule 40 or Schedule 80 PVC pipes for optimal performance. These pipes are durable, corrosion-resistant, and suitable for both residential and commercial applications.

Tools and Materials
Tools
Before diving into the installation process, gather the necessary tools:
Pipe Cutter: For precise and clean cuts.
Deburring Tool: To remove any sharp edges after cutting.
Tape Measure: Ensures accurate pipe length measurements.
PVC Primer and Cement: Essential for securing joints.
Materials
Apart from tools, you'll need the following materials:
PVC Pipes and Fittings: Ensure they are the correct size and schedule.
Teflon Tape: For creating watertight seals.
Pipe Hangers: Provide support and prevent sagging.
Installation Steps
Step 1: Planning
Before starting the installation, plan the layout of your water supply system. Consider factors such as pipe routes, connection points, and potential obstacles. A well-thought-out plan will streamline the installation process.
Step 2: Cutting the PVC Pipes
Measure and mark the pipe lengths accurately using a tape measure. Use a pipe cutter to make clean, square cuts. Remember, precision at this stage ensures a leak-free system in the long run.
Step 3: Deburring
After cutting, use a deburring tool to remove any rough edges on the pipes. Smooth edges prevent damage to fittings and ensure a secure connection.
Step 4: Dry Fitting
Before applying cement, perform a dry fit of the pipes and fittings. This step allows you to confirm measurements and identify any adjustments needed.
Step 5: Applying Primer and Cement
Apply PVC primer to both the pipe and fitting surfaces. Follow up with PVC cement, ensuring even coverage. Quickly join the pieces, twisting a quarter turn for a secure bond. Hold the joint in place for a few seconds to allow the cement to set.
Step 6: Teflon Tape for Threads
When working with threaded connections, wrap Teflon tape around the male threads to create a tight seal. This step is crucial for preventing leaks in threaded joints.
Step 7: Proper Support with Hangers
Secure the PVC pipes in place using appropriate pipe hangers. Proper support prevents sagging, ensuring a stable and long-lasting water supply system.
Testing and Inspection
After completing the installation, it's crucial to conduct thorough testing and inspection:
Leak Test: Turn on the water supply and inspect all joints for leaks.
Pressure Test: Check the system's resilience by subjecting it to a pressure test.
Conclusion
Congratulations! You've successfully installed PVC water supply pipes using our expert tips and techniques. At New Dongfeng, we prioritize the quality of our installations, ensuring your plumbing system functions flawlessly for years to come.
52
0
0

Comments
All Comments (0)